Requirements:
A system running Windows Server 2022
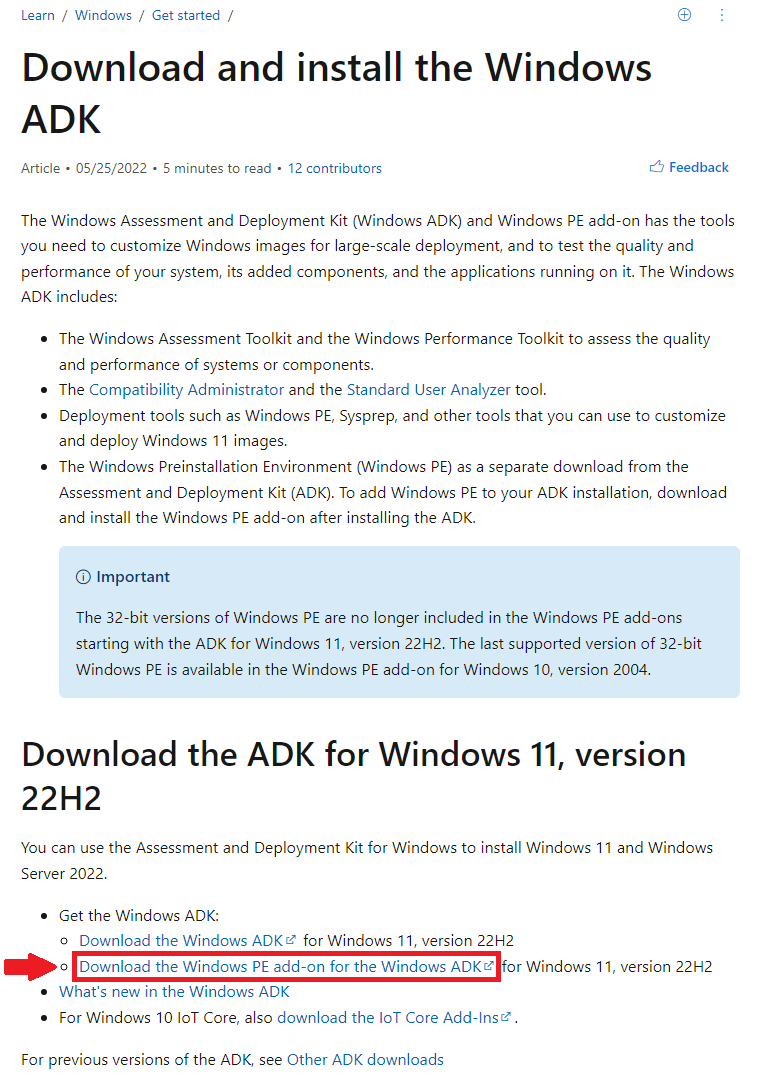
Access to Windows 11 driver files
Step 1: Obtain the Driver Files from Windows 11
You can see the .inf and .sys files in the driver directoy, which are required for the installation.
C:\Windows11\System32\DriverStore\FileRepository\xinputhid.inf_amd64_0000000000000000> dir
 C 드라이브의 볼륨에는 이름이 없습니다.
 볼륨 일련 번호: 0000-0000

2024-05-30  오후 12:18    <DIR>          .
2024-07-02  오전 08:27    <DIR>          ..
2024-05-30  오전 11:13            21,106 xinputhid.inf
2024-05-30  오전 11:13            90,112 xinputhid.sys
               2개 파일             111,218 바이트

C:\Windows11\System32\DriverStore\FileRepository\xinputhid.inf_amd64_0000000000000000>
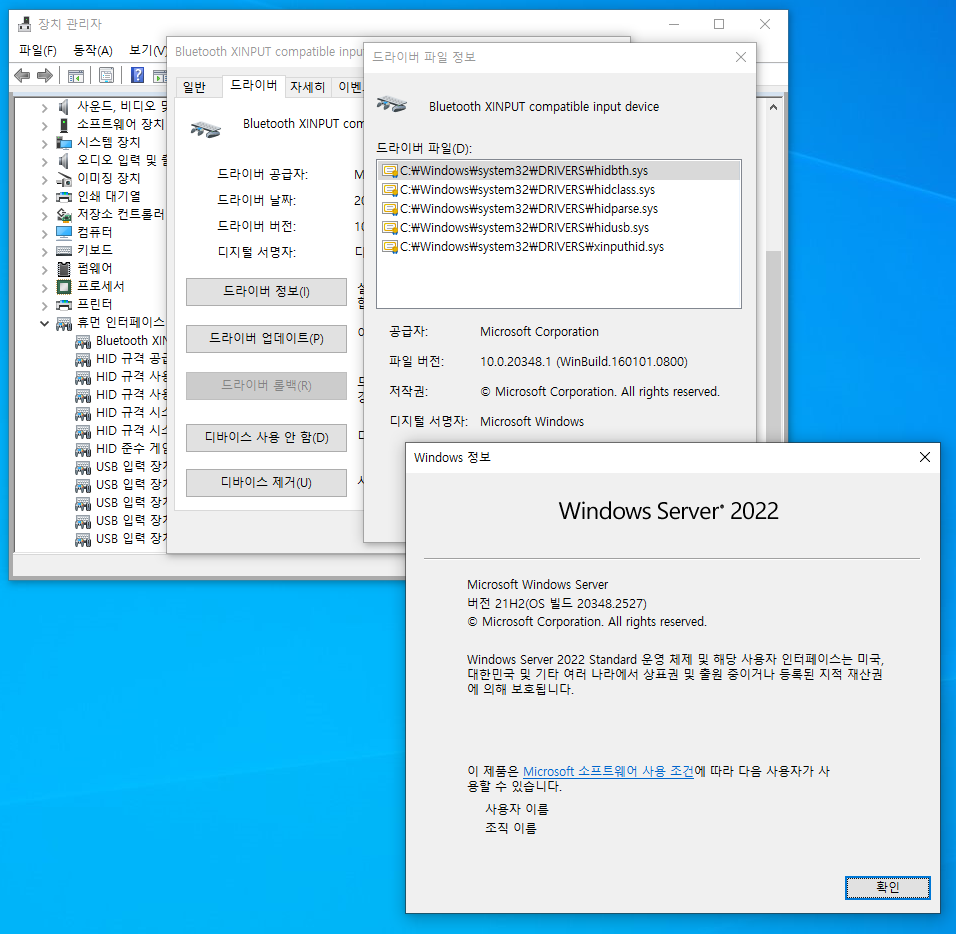
Step 2: Verify the Catalog File from Windows 11
Sigcheck can be downloaded from Sysinternals.
C:\Windows11> sigcheck64.exe -i C:\Windows11\System32\drivers\xinputhid.sys

Sigcheck v2.90 - File version and signature viewer
Copyright (C) 2004-2022 Mark Russinovich
Sysinternals - www.sysinternals.com

c:\windows11\system32\drivers\xinputhid.sys:
        Verified:       Signed
        Link date:      오전 5:39 1918-03-01
        Signing date:   오전 10:45 2024-06-21
        Catalog:        C:\WINDOWS11\system32\CatRoot\{00000000-0000-0000-0000-000000000000}\Microsoft-Windows-Client-Desktop-Required-Package~0000000000000000~amd64~~10.0.00000.0000.cat
        Signers:
           Microsoft Windows
                Cert Status:    Valid
                Valid Usage:    NT5 Crypto, Code Signing

....
Step 3: Copy and install Catalog File to Windows Server 2022
SignTool is included in Visual Studio or Windows SDK.
C:\Windows2022> signtool catdb /v /u "Microsoft-Windows-Client-Desktop-Required-Package~0000000000000000~amd64~~10.0.00000.0000.cat"
Adding Catalog: Microsoft-Windows-Client-Desktop-Required-Package~0000000000000000~amd64~~10.0.00000.0000.cat
Catalog added successfully: Microsoft-Windows-Client-Desktop-Required-Package~0000000000000000~amd64~~10.0.00000.0000.cat
        System assigned name: \Windows\system32\CatRoot\{00000000-0000-0000-0000-000000000000}\99.CAT

Number of catalog files successfully Added: 1
Number of errors: 0
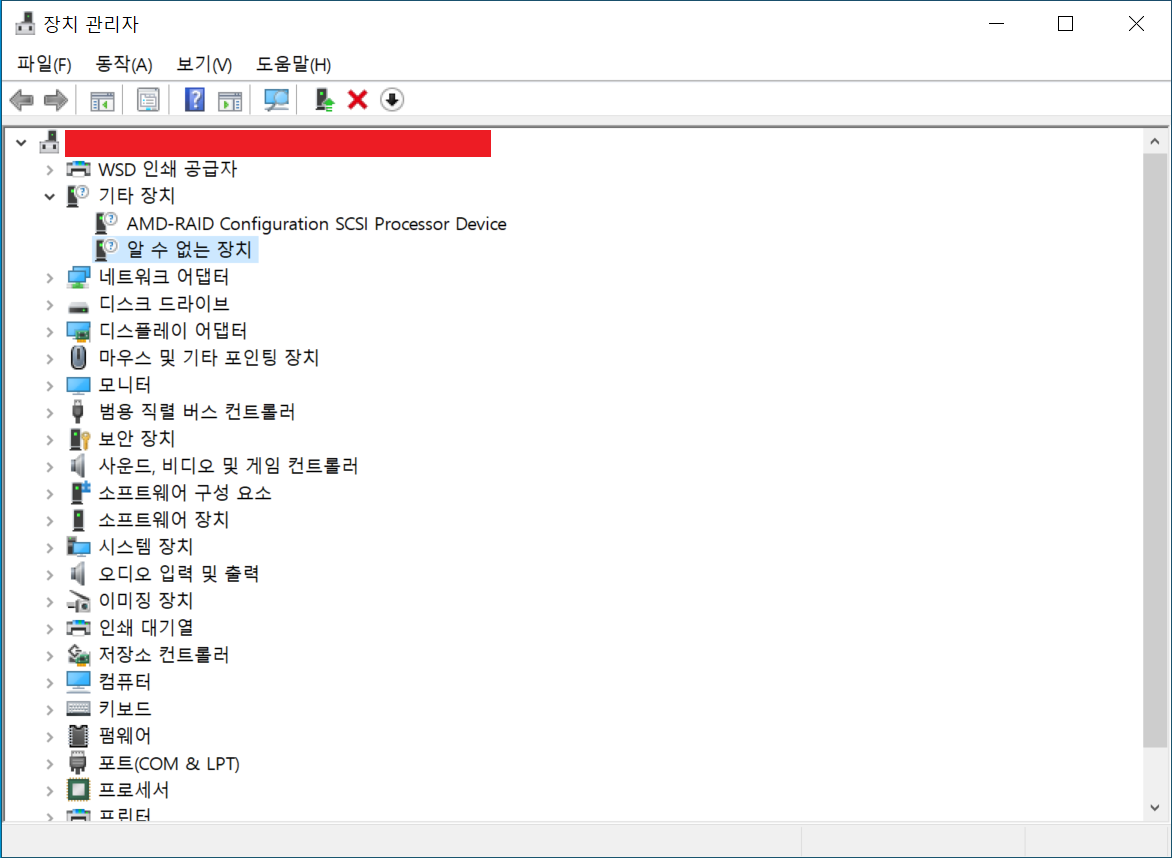
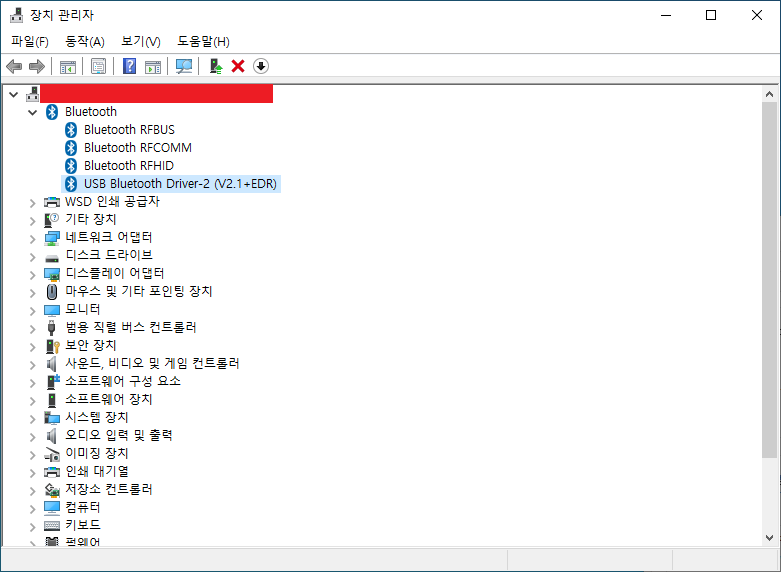
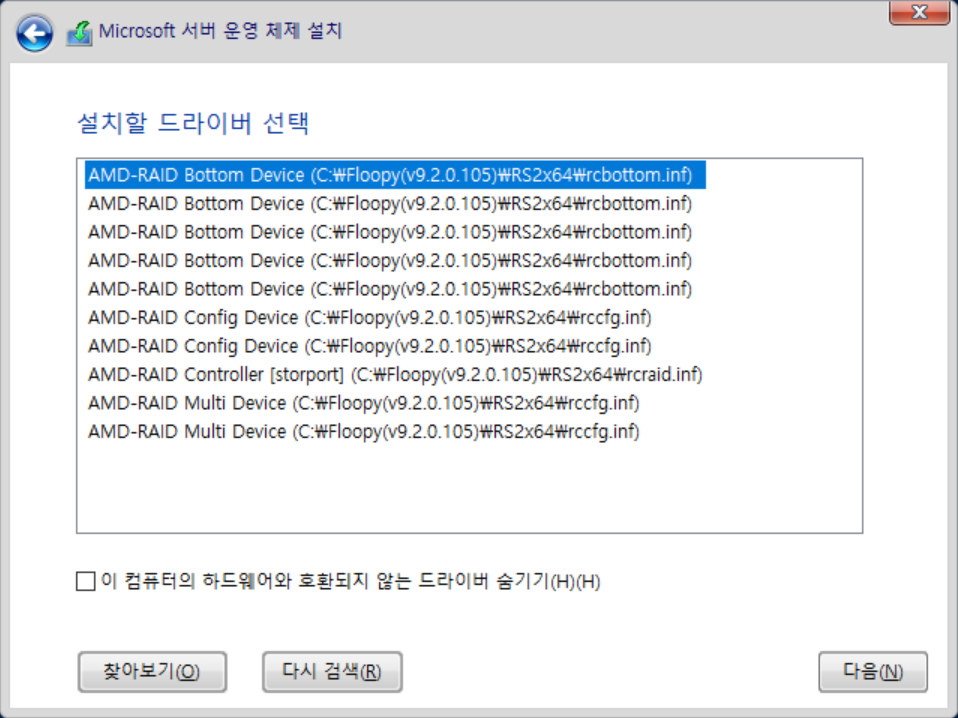
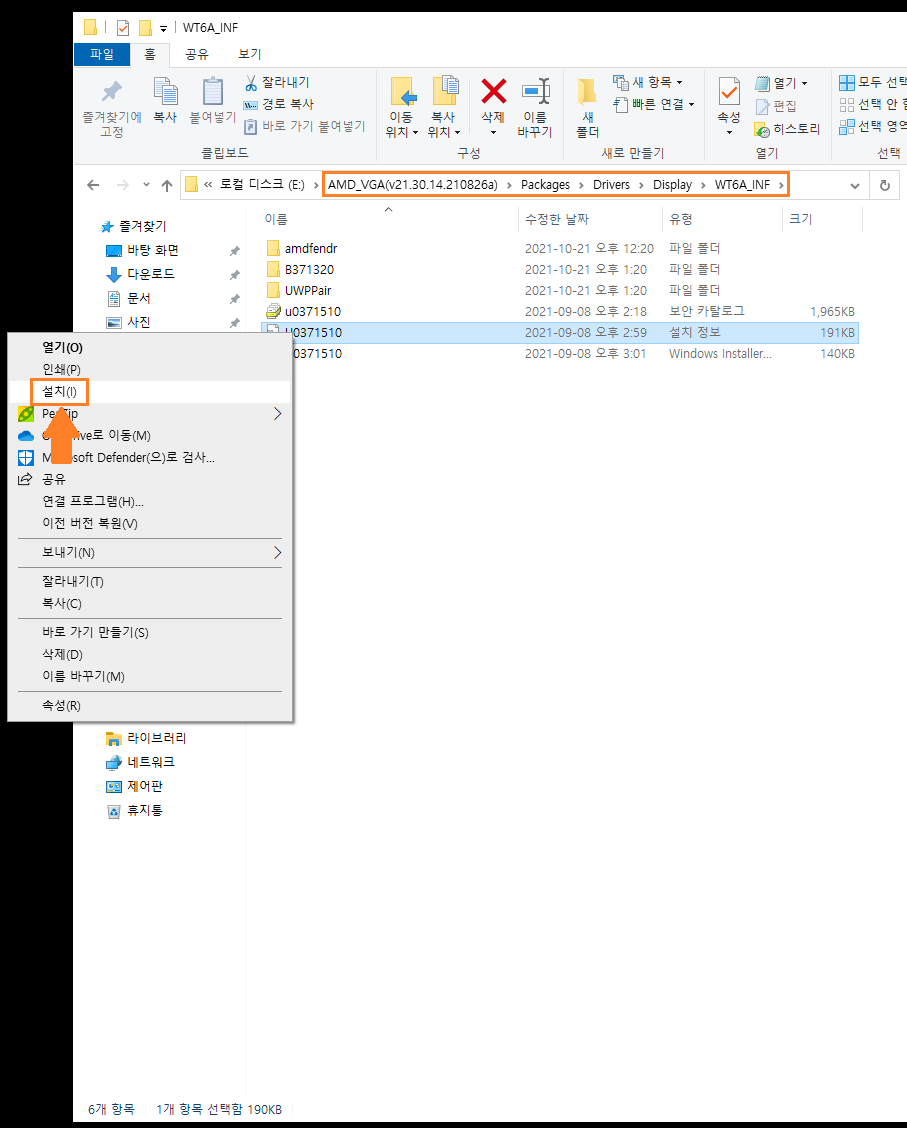
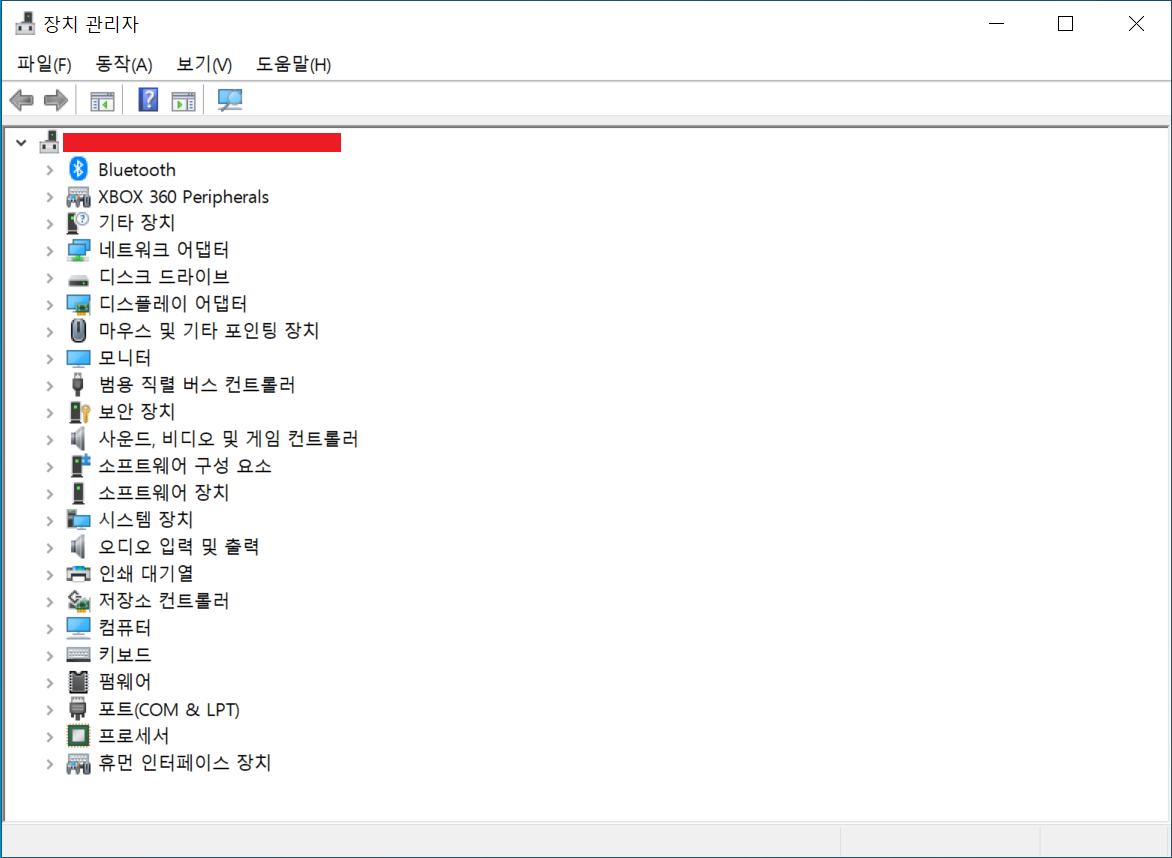
Step 4: Install Driver Files
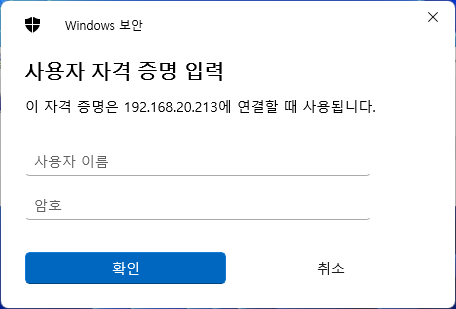
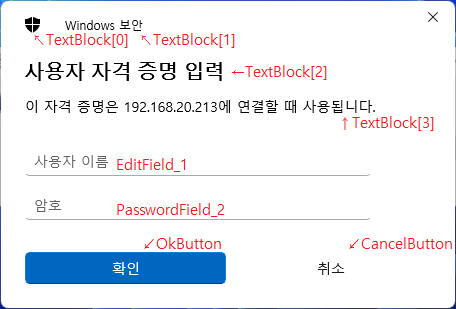
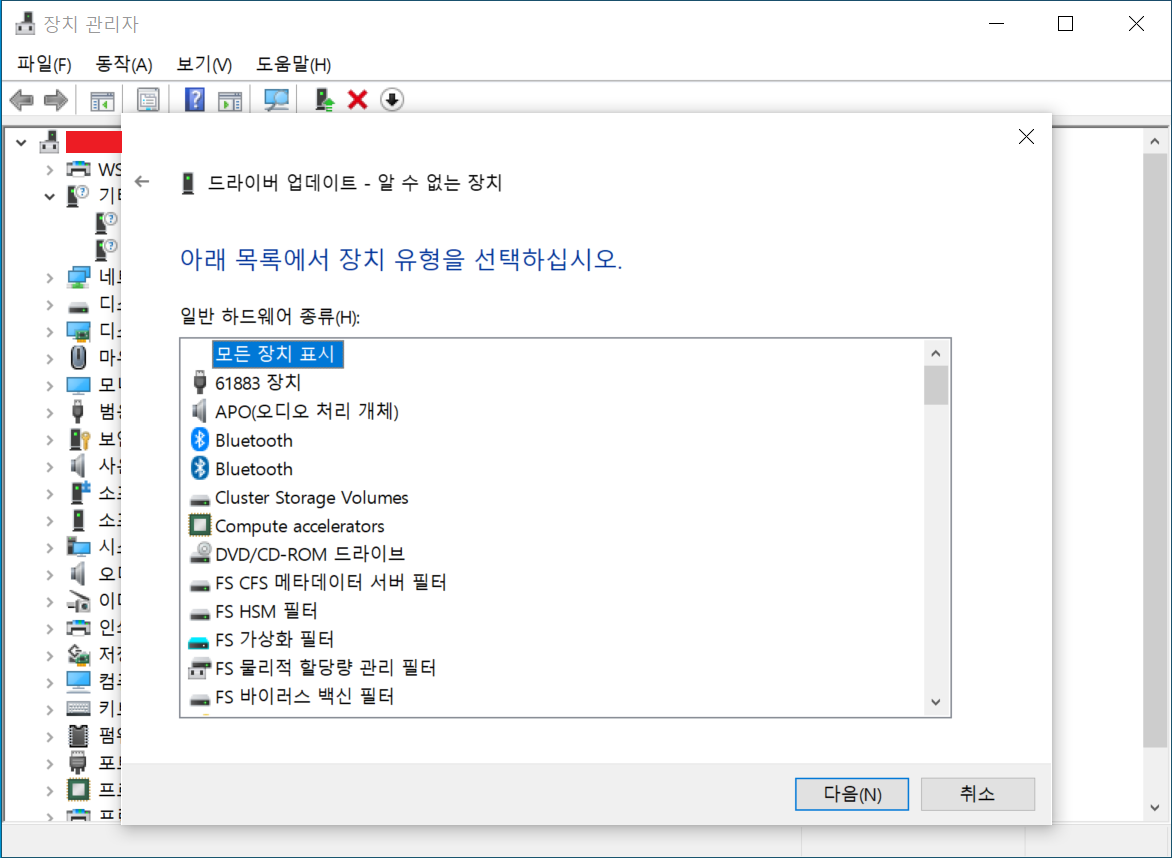
1. Select Driver → Update driver → Browse my computer for drivers → Let me pick from a list of available drivers on my computer → Have a disk
2. Then, select folder containing ini/sys files and click OK
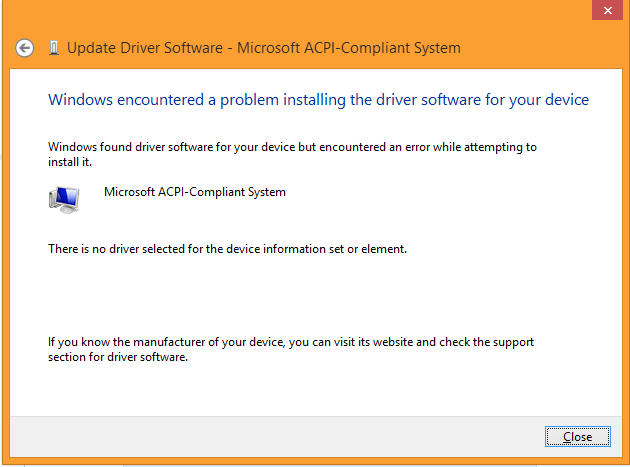
3. Make sure to disable driver signature enforcement option